3D Print Process
3D print process (1/2” scale)


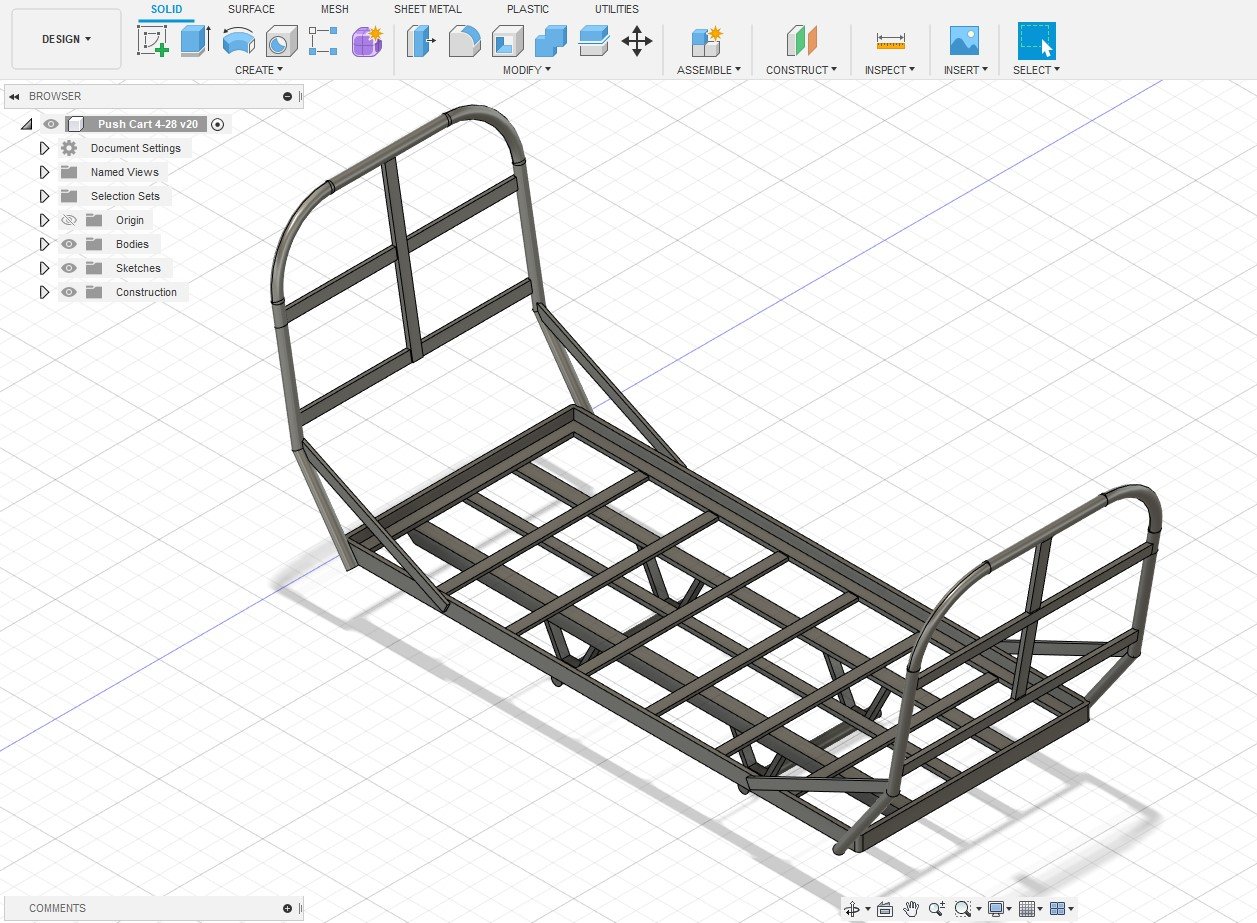
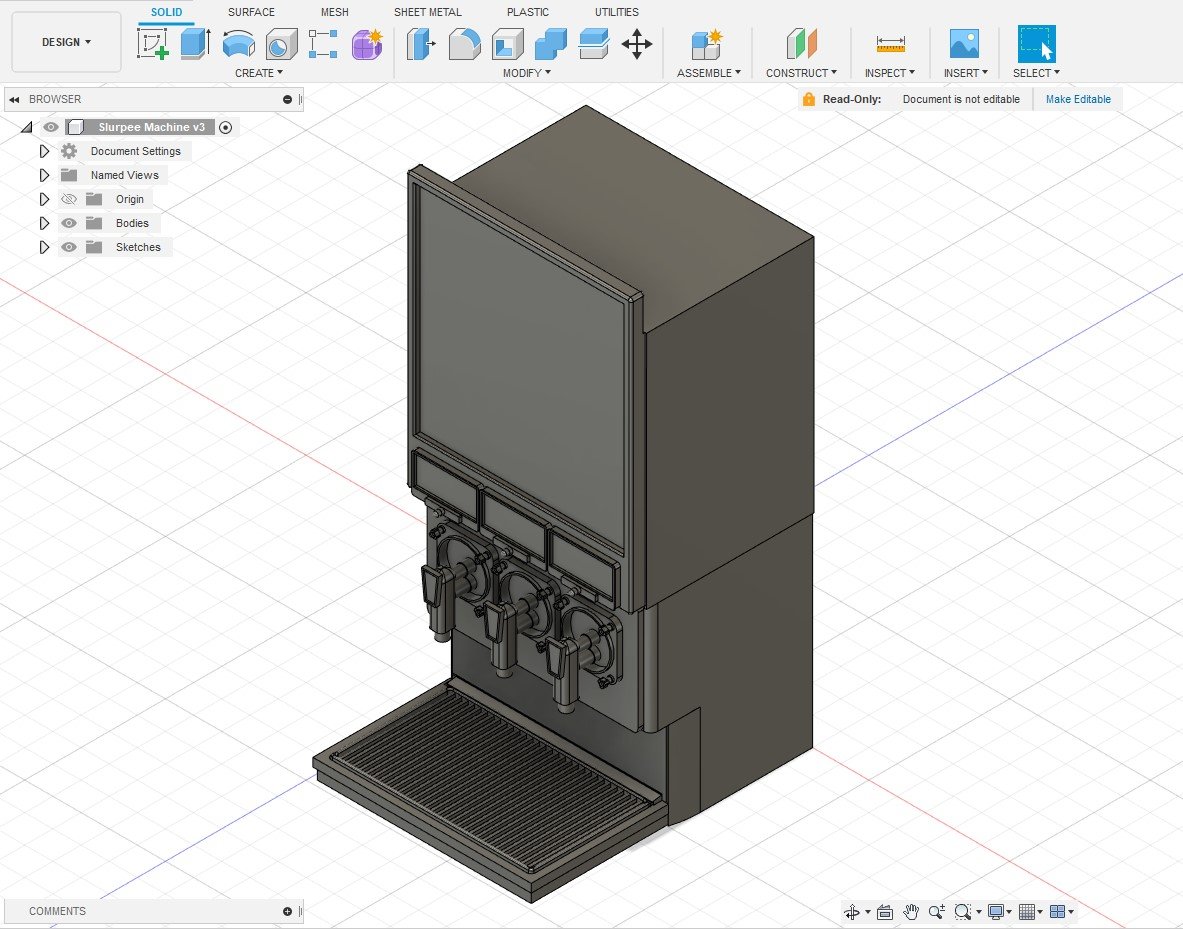
Here are some examples of models I created in Fusion 360. These are street details for a Hong Kong scene I am creating in miniature (1/2” scale).
I use blueprints when they are available as a reference. If not, I’ll try and find some overall dimensions and model the object using reference images as well.
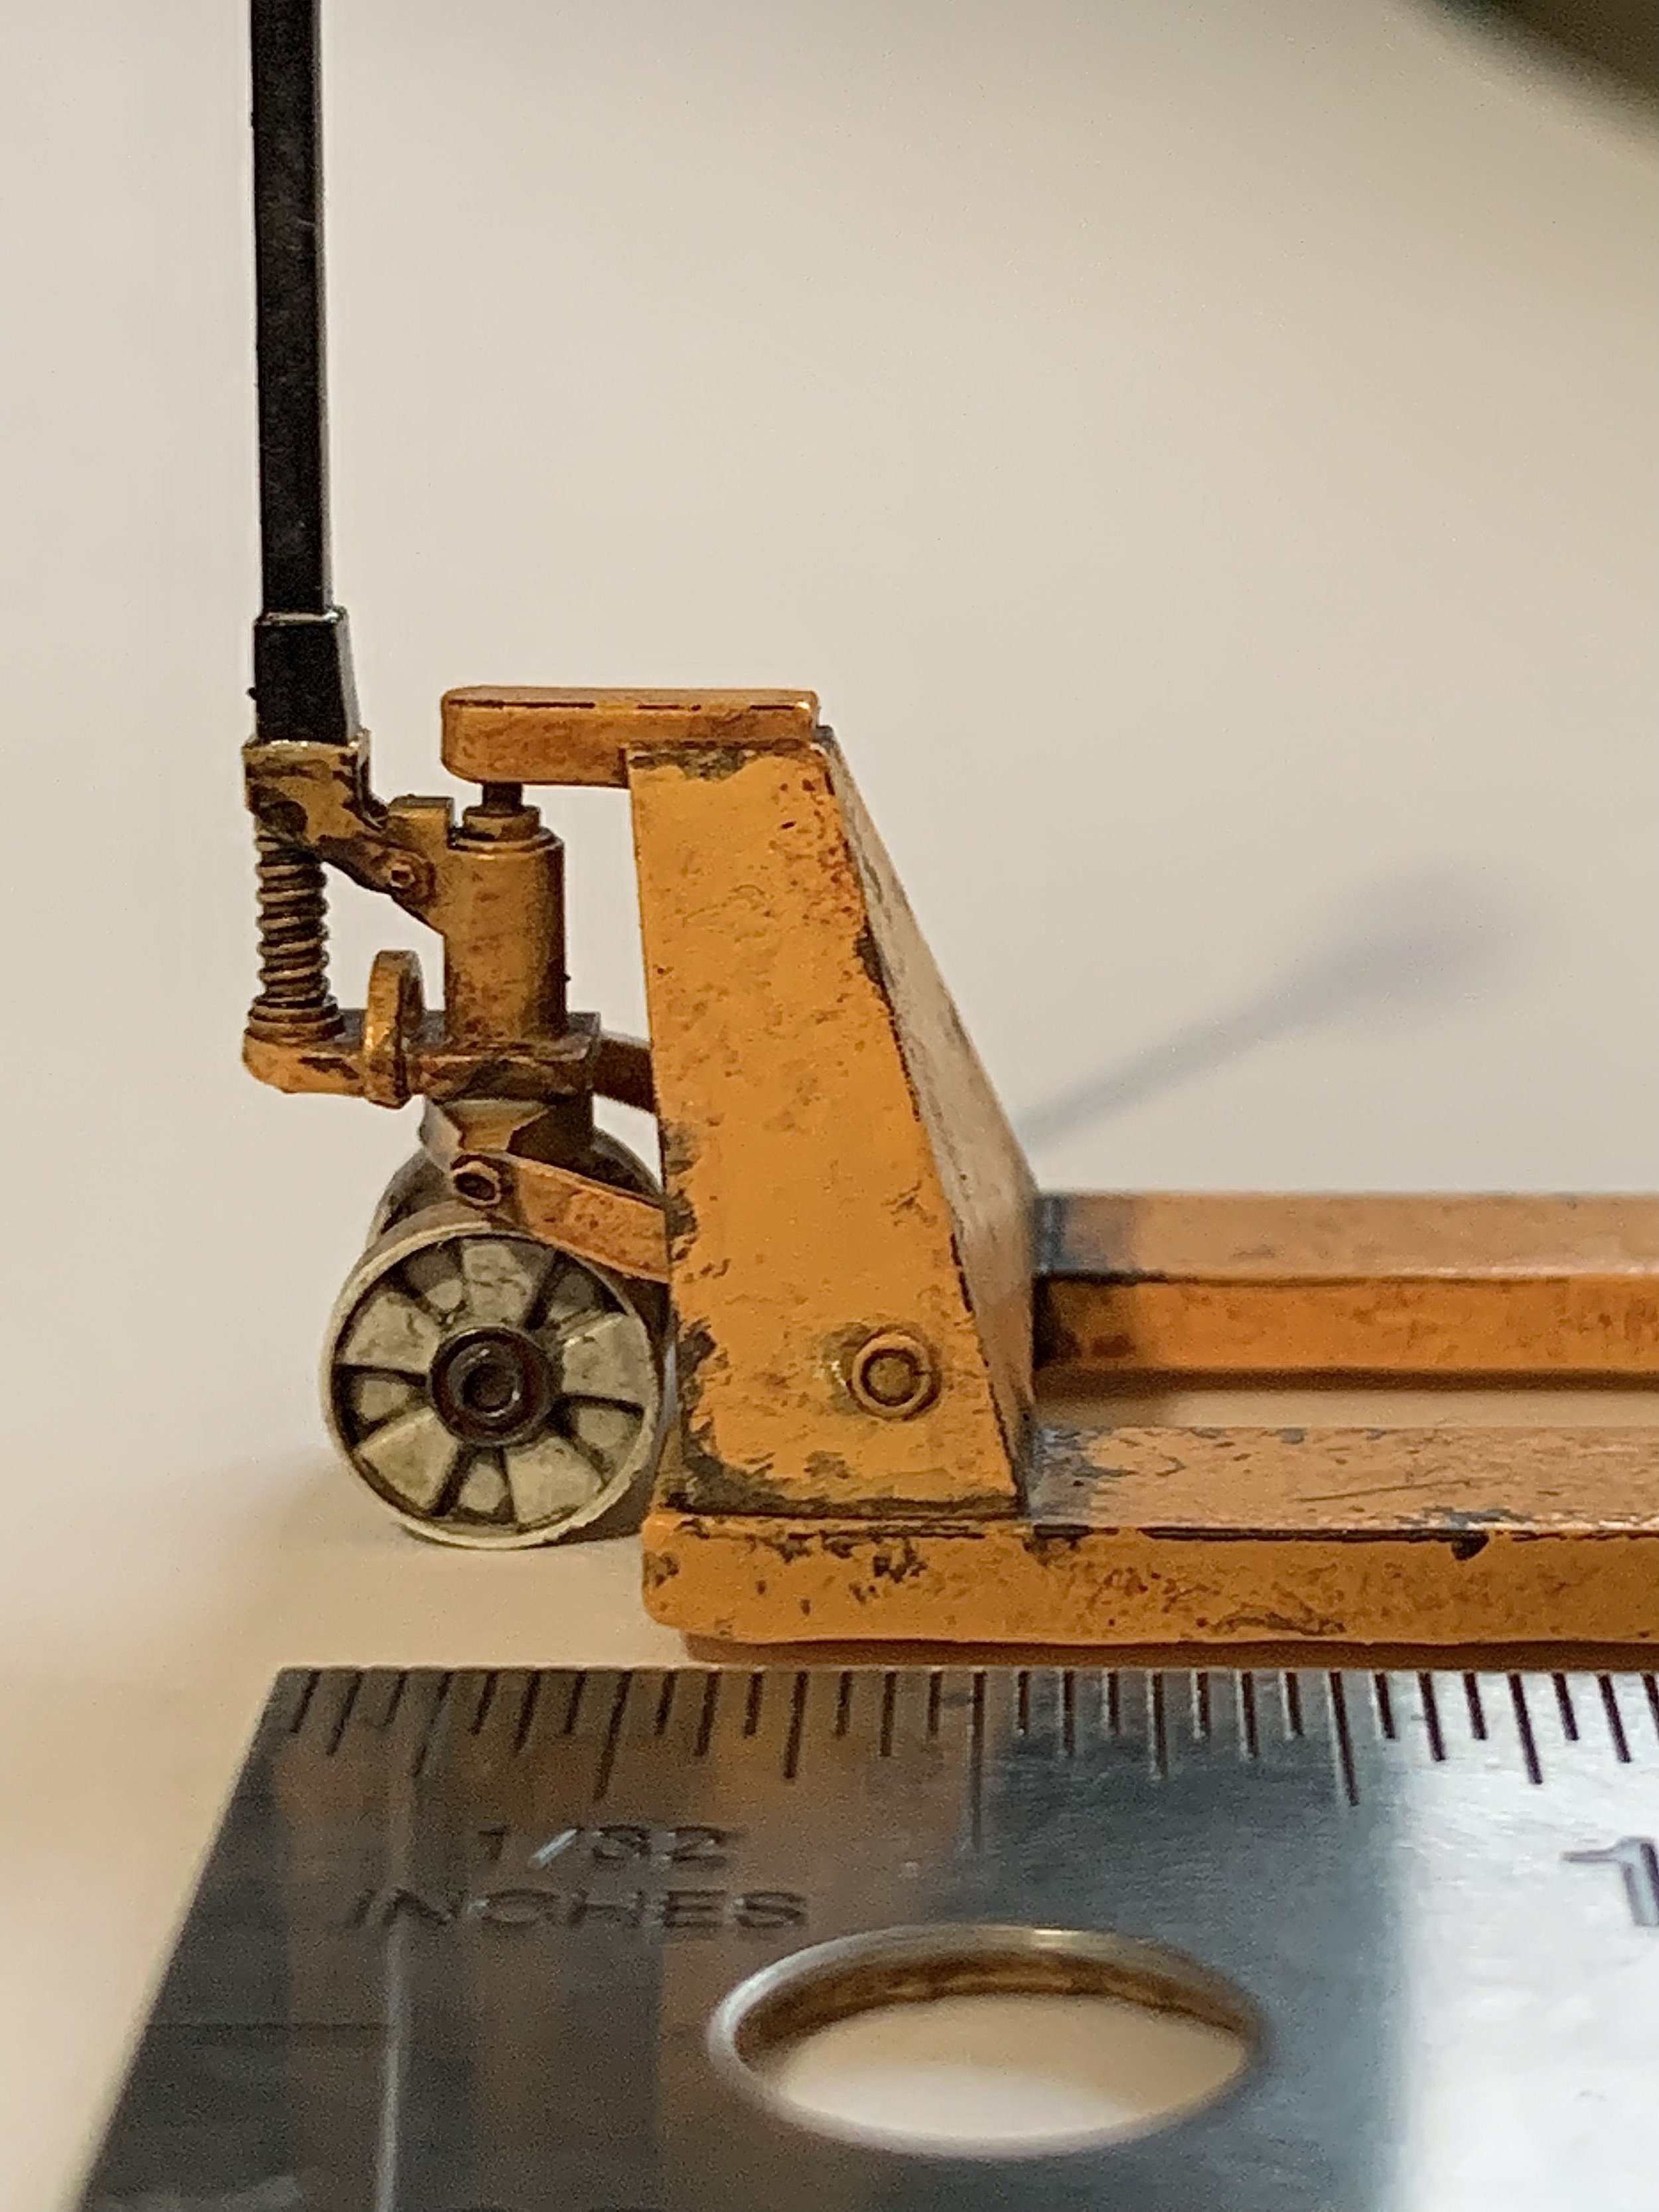
On objects like the pushcarts and pallet trucks, wheels are printed separately to make it easier for the painting process.
Once completed, the models are exported as STL Files.


The STL Files are imported into a slicing software (Chitubox in this case).
From there, models are prepped for printing. Some need to be raised, angled, and supported to ensure a successful print.
Once everything is finished, the file is sliced, transferred to a thumb drive, and then inserted into the printer for printing.


After the print is finished, it is removed from the build plate, cleaned thoroughly in isopropyl alcohol, and then post cured under a UV light.
Next, supports are then removed, and the miniature gets sanded to remove any artifacts from the supports, or any visible layer lines. Note that depending on the print, some may be easier to remove supports before the post cure after cleaning. The plastic is more flexible and easier to cut.


The printed and prepped model is then base coated with Tamiya Lacquer or Acrylic paints using an airbrush.
Any surface that requires a chipped finish gets the chips applied by a fine brush and highly diluted Vallejo Acrylic dark gray paint.
After the chipping, Enamel Rust and Dust Tones can be applied using washes from Tamiya, AK Interactive, and AMMO by MIG Washes. Any leftover enamel wash in unwanted places can be blended with a clean brush dampened with Enamel Thinner.


